How to Design Printed Circuit Board sensor Step by Step
 10 Dec 2025 11:21:29 GMT
Tyson From www.hycxpcba.com
10 Dec 2025 11:21:29 GMT
Tyson From www.hycxpcba.com
What is a Printed Circuit Board sensor
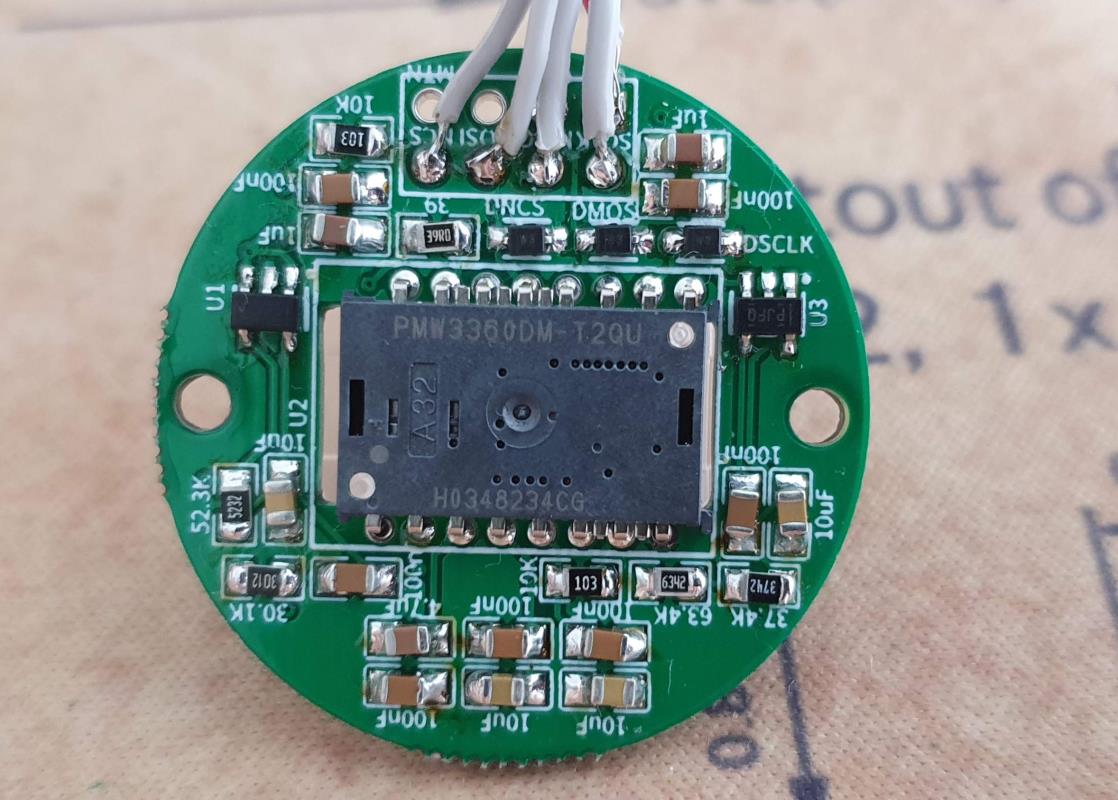
Printed Circuit Board sensors are a critical component in electronics devices, allowing electronics to sense, measure, and react to changes around them,
such as detecting temperature, pressure, motion, and humidity. These sensors are directly integrated on printed circuit boards (Printed Circuit Boards),
allowing for compact, efficient, and reliable devices.
Key Components of Printed Circuit Board Sensor Boards
- Sensing Element
- Signal Conditioning Circuitry
- ADC (Analog-to-Digital Converter)
Because most processors only process digital information, the analog sensor signal needs to be converted.
This is achieved by ananalog-to-digital converter (ADC), which converts a continuous analogue voltage to a digital value.
- Interface to Microcontroller or Processor
- Power Supply and Regulation
The majority of the sensors and ICs need requirements of stable voltage levels.
A noise-free and stable power supply is mandatory, particularly for analog sensors.
Types of Printed Circuit Board Sensors
-
Temperature Sensors
- How they work: convert temperature changes into electrical resistance/voltage signals
- (Thermistors, RTDs, Thermocouples).
- Applications: HVAC systems, CPUs, battery packs, industrial machinery.
-
Pressure Sensors
- How they work: convert pressure into electrical signals to monitor gas or liquid pressure
- Applications: automotive systems (e.g., tire pressure monitoring), medical devices, industrial automation.
-
Motion and Acceleration Sensor
- How they work: measure linear acceleration or angular velocity and function as motion detectors, including accelerometers and gyroscopes
- Applications: smartphones fitness trackers, etc.
-
Gas and Chemical Sensors:
- How they work: detect various gases (e.g., carbon dioxide, carbon monoxide, methane, and nitrogen dioxide).
- Applications: safety systems environmental monitoring, smart homes, laboratories, or industry
-
Humidity Sensors:
- How they work: They are embedded in Printed Circuit Boards when accurate environmental readings are needed.
- Applications: weather stations, agricultural systems, air conditioning systems
-
Light Sensors:
- How they work: also called photodetectors, are designed to gauge ambient light intensity.
- Applications: smartphones, streetlights, and solar applications to provide functionality such as dimming or solar tracking.

Applications of Sensor Printed Circuit Boards
| Field | Key Applications | Example Sensors |
| IoT Nodes | Environmental monitoring, Smart home systems | Temperature/humidity, Light, Air quality, Motion, Door/window, Leak detection |
| Industrial Automation | Process control, Machine health monitoring | Pressure, Flow, Level, Vibration, Temperature, Proximity switches, Encoders |
| Consumer Electronics | Smartphones, Wearable devices | Accelerometer, Gyroscope, Ambient light, Proximity, Heart rate, SpO , Motion |
| Automotive Electronics | Engine control, Safety systems, ADAS | Pressure, Temperature, O , TPMS, Airbag accelerometer, Radar, Camera, Ultrasonic |
| Medical Devices | Vital signs monitoring, Diagnostic equipment | ECG electrodes, SpO probes, Temperature, Biosensors |
| Environmental & Agritech | Climate/soil monitoring, Precision farming | Soil moisture, pH, Light intensity, Weather station sensors |
How to Build a Printed Circuit Board Sensor Module: Step-by-Step Explanation
Step 1:
Define Requirements
Step 2:
Choose the Right Type of Sensor
Step 3:
Schematic Design
The first step in the design of a Printed Circuit Board sensor module is to provide clear functional and environmental requirements.
This may determine the physical parameter to be measured (e.g., temperature, pressure, or movement),
the range of the calibration, the required accuracy, the resolution, response time, and any environmental conditions such as temperature range, humidity, or electromagnetic compatibility.
The choice of an appropriate sensor would thus need to consider the set of parameters selected and its intended application.
Performance characteristics such as sensitivity, linearity, and power consumption must meet the requirements of the specific application. Additionally,
the interface (analog or digital), footprint, and availability and compatibility with the rest of the circuit must be considered.
Then the sensor is added to the schematic circuit in the used EDA tool(e.g., Altium Designer, KiCad, or Autodesk Eagle).
Proper integration defines the electrical connections, uses appropriate signal conditioning components amplifiers filters, ADCs), and even has voltage protection where appropriate.
Step 4: Printed Circuit Board Layout
Ground planes shielding, and careful trace routing are necessary to minimize noise and crosstalk Short and straight traces are favored for analog sensors.
Differential signaling routing can be utilized as appropriate. For high-precision design, it is vital to consider thermal relief via stitching and EMI protection.
Step 5:
Simulation and Prototype
Step 6:
Test and Calibration
Step 7:
Mass Production
Circuit simulations are alluded to in which the signal behavior under nominal operating conditions is analyzed for stability and response.
Signal integrity, thermal performance, and power distribution must be simulated. Subsequently, a physical prototype is developed and constructed for validation in real ambient conditions.
This step allows testing under actual conditions to verify performance, stress tolerance, and mechanical fit.
Once it is assembled, the sensor is tested. Tests involve load measurement, response time, resolution, linearity, and accuracy across the load range.
From a robustness point of view, environmental stress tests may also be performed. It is used for calibration under controlled conditions or with reference standards.
Some applications may need factory calibration on the Printed Circuit Board in non-volatile memory, while others may allow calibration in the field when installed.
The final design is then ready for mass production after it has been verified and validated. This includes generating Gerbers,BOMs, and assembly guidelines.
Select a trusted partner in manufacturing, such as hycxpcba, to guarantee quality, traceability, certifications, and standards.
Yield optimization, cost, automated test techniques, and mandated regulatory compliance at the end application are all taken into account.
If you are a beginner, you can start by trying to make your own simple sensor Printed Circuit Board. Using a breadboard or circuit board is fine.
Take the temperature alarm sensor as an example.
The components that need to be prepared include a microcontroller minimum system, a display, a temperature sensor, and a sound and light alarm.
The design circuit diagram is shown below:
Challenges of Integration in Printed Circuit Board Sensors
| Challenge | Solutions/Best Practices |
| Signal Noise | Shielding, proper grounding, filtering circuits, differential signaling |
| Placement Issues | Thermal modeling, strategic placement away from heat sources, adequate ventilation |
| Calibration Drift | Firmware support for recalibration, self-calibration routines, stable components |
| Miniaturization | Multilayer Printed Circuit Boards, embedded components, advanced packaging techniques |
| Environmental Interference | Conformal coating, sealed enclosures, selecting ruggedized components |
Conclusion
Printed Circuit Board sensors are redefining several industries, primarily because they allow them to collect data in real time, automate as well, and build a smarter system.
From manufacturers and sensor types to common challenges, it’s important to understand the full process and optimize the layout.
Ready to integrate sensing intelligence into your next product, hycxpcba specializes in designing and manufacturing high-quality,
reliable custom sensor Printed Circuit Boards. for a consultation and quote on your sensor Printed Circuit Board project!
-
06 Mar 2026 14:08:44 GMT
What is Heavy Copper PCB
-
04 Mar 2026 10:15:22 GMT
How Dose AOI Enhances Solder Paste Inspection For PCB