How to Produce Electronic Circuit Sample Step by Step
 25 Dec 2025 10:00:02 GMT
Tyson From www.hycxpcba.com
25 Dec 2025 10:00:02 GMT
Tyson From www.hycxpcba.com
is a small batch pcb trial production before mass production. Only when the Electronic Circuit passes the inspection
standards can the mass product be released with peace of mind.
This method avoids production risks to a certain extent. As an extremely important part of small batch pcb assembly,
what about the Electronic Circuit production process?
Step 1:
contact the factory
Before starting the small batch assembly of pcb, we need to obtain the printed circuit board sample.
That is a pcb prototype. Firstly, tell the factory the required size, process requirements,
product quantity and other relevant data, and wait for the professional to provide a quotation and place an order.
Step 2: Cutting
This is the second step of pcb sample production. According to the engineering information provided by the customer,
cut small pieces of production board on the board that meets the requirements.
The specific process: large sheet material → cutting board according to MI requirements → curium board → beer fillet / edging → plate out.
The 3 step: drilling
Drill holes on the plate that meets the requirements, and drill the required hole diameter at the corresponding position.
The specific process: stacking board pins → upper board → drilling → lower board → inspection/repair.
The 4 step: sink the copper
Use a chemical method to deposit a thin layer of copper on the insulating hole.
The specific process: rough grinding → hanging board → automatic copper sinking line → lower board → dip 1% dilute H2SO4 → thickened copper.
Step 5: Graphics transfer
Transfer the image on the production film to the board.
The specific process: hemp board → lamination → standing → alignment → exposure → standing → shadowing → inspection.
Step 6: Graphic plating
Plating a copper layer with the required thickness and a gold-nickel or tin layer with the required thickness on the exposed copper skin or hole wall of the circuit pattern.
The specific process: upper board → degreasing → second water washing → micro-etching → water washing →
pickling → copper plating → water washing → pickling → tin plating → water washing → lower board.
Step 7: Removal of the film
Use NaOH solution to remove the anti-plating coating film to expose the non-circuit copper layer.
Step 8: Etching
Use the chemical reagent copper to remove the non-line parts.
Step 9: Green oil
The graphics of the green film are transferred to the board, mainly to protect the circuit and prevent the tin on the circuit when welding parts.
Step 10: Characters
Print some characters on the circuit board for easy identification. The specific process: After the green oil finishes →
cool and stand → adjust the screen → print characters → rear curium.
Step 11:Eleventh step: gold-plated fingers
Plating a nickel/gold layer with the required thickness on the plug finger to make it more rigid and wear-resistant.
Step 12: Forming
The shape required by the customer is produced by die stamping or CNC gong machine.
Step 13: Test
The flying probe tester is used for testing to detect defects that affect functionality such as open circuits and short circuits that are not easy to find visually.
After these thirteen steps, the Electronic Circuit production is completed. Now how to produce a small batch Electronic Circuit Sample ?
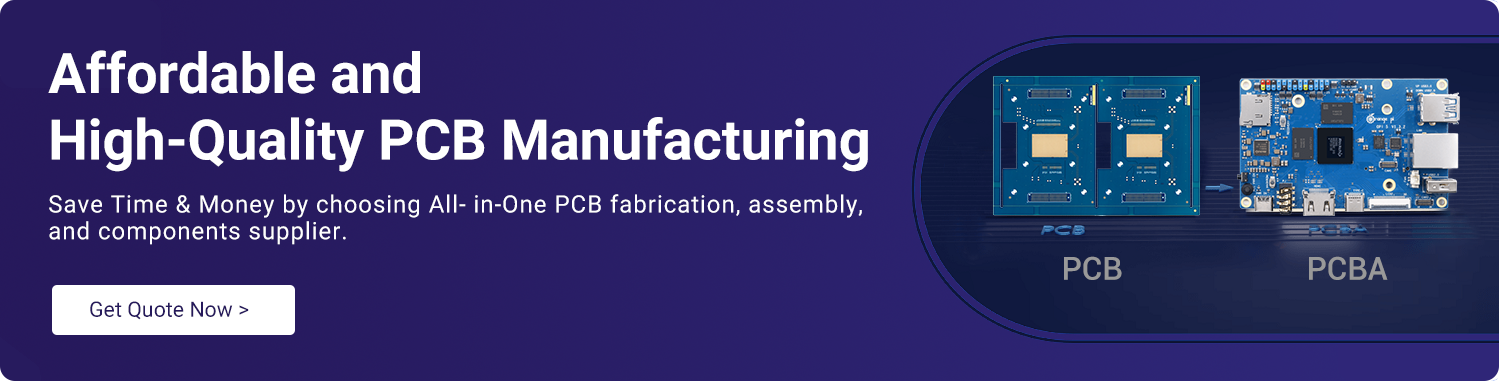
Have you got it? We are an experienced pcb company.
If you have pcb production needs, please contact us. We provide you with a pcb sample service.
As a professional Electronic Circuit sample manufacturer, the Electronic Circuit Boards we produce will surely satisfy you.
-
06 Mar 2026 14:08:44 GMT
What is Heavy Copper PCB
-
04 Mar 2026 10:15:22 GMT
How Dose AOI Enhances Solder Paste Inspection For PCB